Understanding Water Heaters
Water heaters are essential household appliances that provide hot water for various needs such as bathing, cooking, and cleaning. Understanding the different types of water heaters and their features can help you make an informed decision when it comes time to fit a new water heater. The installation process, while feasible for handy homeowners, is crucially important to execute correctly, especially considering safety and efficiency. This guide will detail how to fit water heater optimally in your home.
Types of Water Heaters
There are primarily two types of water heaters: tank and tankless. Each has its unique advantages and disadvantages, making them suitable for different needs.
- Tank Water Heaters: These traditional units store hot water in a tank. They are usually less expensive upfront but can have higher operating costs due to heat loss. Typical capacities range from 20 to 80 gallons.
- Tankless Water Heaters: Also known as on-demand water heaters, these systems heat water directly without the use of a storage tank. They provide hot water only when needed, which can be more energy efficient, but they often come with a higher installation cost.
Choosing the Right Size
Choosing the appropriate size for your water heater is critical. Tank type units are sized by their storage capacity, while tankless models are rated by flow rate, typically measured in gallons per minute (GPM).
A general rule of thumb is to allocate about 10 to 15 gallons of storage for each person in your household. For example, a family of four might require a 40 to 60-gallon tank. If you opt for a tankless model, consider peak water demand—multiple showers, laundry, and dish washing running simultaneously can escalate GPM requirements.
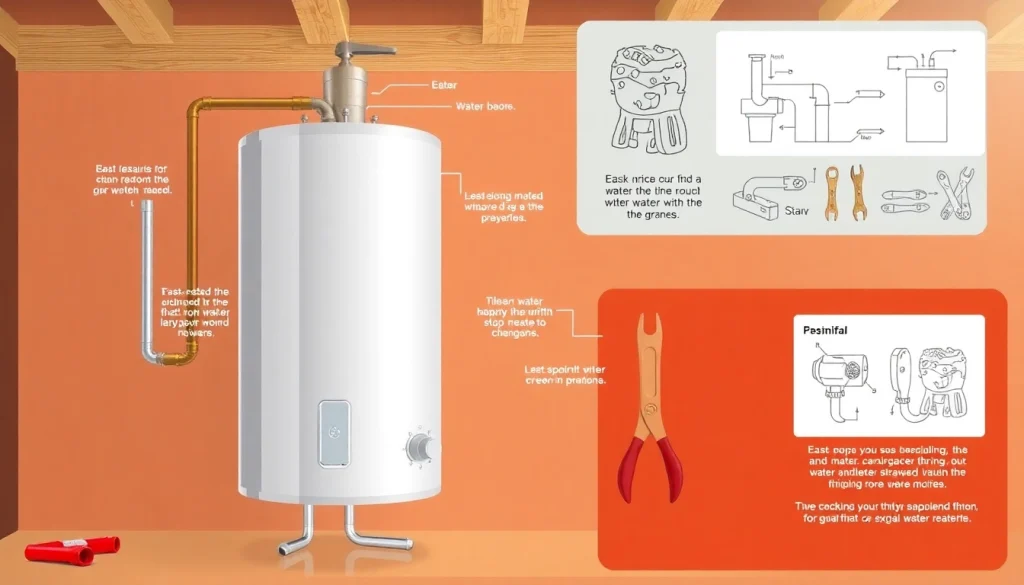
Necessary Tools for Installation
Before commencing with the installation, ensure you have the right tools and materials at hand:
- Adjustable wrench
- Pliers
- Pipe wrenches
- Screwdrivers (flathead and Phillips)
- Bucket (to catch any spills)
- Teflon tape
- Water heater straps (for seismic safety)
- Plumbing fittings (copper or PVC depending on your setup)
- Drill (if additional straps or brackets are needed)
Preparation for Installing a Water Heater
Safety Precautions to Consider
Before diving into the installation, safety should be your top priority. Always start by turning off the power supply to the water heater or shutting off the gas supply if you are using a gas heater. Additionally, allow sufficient time for any remaining hot water to cool down to avoid burns.
Gathering Required Materials
Ensure you have all necessary materials. This includes not only the water heater itself but also the pipes, fittings, and tools mentioned earlier. Verify that all fittings are compatible with your existing plumbing before starting.
Understanding Your Home’s Plumbing
Before installation, it’s essential to understand your home’s plumbing layout. Ensure you know where the main water lines, shut-off valves, and drainage points are located. Familiarize yourself with the water supply routing to efficiently connect the new heater.
How to Fit Water Heater: Step-by-Step Instructions
Setting the New Heater in Place
The process of fitting a new water heater begins with positioning the unit. Ensure you choose a location that provides sufficient clearance for maintenance access and complies with local building codes.
Carefully lift the water heater into place. Utilize assistance if necessary to avoid physical strain. Depending on whether you are lifting a tank or a tankless system, follow the manufacturer’s instructions for securing the unit. For tank units, ensure it is level and supported securely underneath by a platform or the ground.
Connecting Water Lines Effectively
Once the heater is in place, the next step is to connect the water lines. Start by attaching the cold water inlet pipe to the tank’s designated inlet. Use the adjustable wrench to tighten the fitting securely. Use Teflon tape on any threaded joints to enhance sealing.
The hot water outlet will use a similar connection method but ensure you identify which pipe is which to avoid confusion. Make the necessary connections from the outlet to your plumbing system while ensuring that all joints are well secured.
Securing the Power Supply
Once the water lines are connected, it’s time to secure the power supply. For electric water heaters, connect the wiring to the circuit breaker according to local code, ensuring the heater is wired correctly and grounded. Always consult a professional if you’re unsure about electrical requirements.
If you have a gas water heater, follow a similar approach for the gas line connection. Make sure all connections are secure, and check for gas leaks with soapy water before proceeding.
Testing Your New Water Heater
Initial Water Flow Testing
With all connections in place, it’s time to test your installation. Turn on the main water supply and allow the tank to fill. Make sure to monitor the flow through the hot and cold lines to ensure they are working correctly.
For tankless systems, run the faucet closest to the heater to prime the system and ensure there are no air pockets.
Checking for Leaks
With the water on, inspect all fittings for leaks while the tank fills. Look for any signs of water drips or moisture forming around joints or fittings. If you detect leaks, you may need to tighten connections or replace faulty fittings.
Verifying Temperature Settings
Before using your new heater, set the desired water temperature. If you have a thermostat, set it to around 120°F (49°C) to balance safety and efficiency. Confirm that the temperature setting functions accurately by testing water flow after a brief wait until the heater has cycled.
Maintenance Tips for Longevity
Regular Maintenance Schedule
Like any mechanical unit, a water heater requires regular maintenance to operate efficiently and last longer. Establish a routine that includes:
- Flushing the tank at least once a year to remove sediment buildup.
- Checking the anode rod every three years to prevent rusting inside the tank.
- Inspecting connections for leaks and corrosion regularly.
Common Issues and Troubleshooting
Be aware of common water heater issues:
- Insufficient Hot Water: This could indicate that the unit is too small for your needs.
- Discolored Water: This may signify rust or sediment buildup; a flush may fix it or indicate a need for a replacement.
- Strange Noises: Banging or popping sounds often suggest sediment build-up at the bottom of the tank. Regular flushing can help alleviate this issue.
When to Call a Professional
While many homeowners can perform water heater installation, certain situations warrant professional help:
- Electrical or gas line connections that you are uncomfortable handling.
- Complex installations or retrofitting older homes.
- Severe leaks, rusting, or any signs of serious damage to the heater.
Handling your water heater installation with care can lead to improved efficiency, safety, and longevity for your home’s hot water supply. By following correct procedures and taking necessary precautions, fitting a water heater may be an excellent home improvement project you can take on yourself.